![]()
Select the File/Export menu item in the Data Table Window to present the Export Files dialog box:
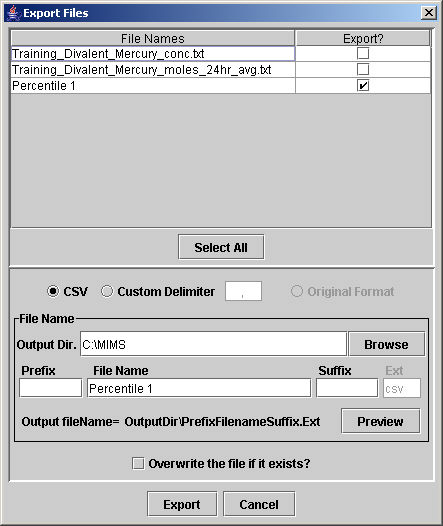
The open files and any new tabs that have been created on the Data Table Window are listed under the File Names column. If the check box in the "Export?" column is checked, that indicates that table as a file to export. Click the Select All button to place checks beside all of the file names, or click their check boxes individually.
Note that any active filters, sorts, and column hides also apply to the exported data sets. If the table has been filtered or columns hidden, only those rows and columns currently displayed will be exported. If the number of significant digits has been specified in the formatting, exported data will reflect that and other format specifications.
To choose the output format, choose CSV for a comma-delimited file, TAB for a tab-delimited file, the Custom Delimiter field to select another character as the divider between the entries, or ARFF to save as an attribute-relation format file that can be used by the Weka machine learning software.
The File Name group box allows you to choose the output directory and file name. The Browse button may be used to select the output directory, or the directory may be typed directly in the Output Dir. field. The Prefix, File Name, Suffix, and Ext fields may also be filled, but the Ext extension is automatically set to csv if you have selected the CSV format. The output file name is set to OutputDir\PrefixFilenameSuffix.Ext. Click the Preview button to show the current output name.
To ensure that the files will be exported, check the Overwrite the file if it exists? check box.
Click Export to create files for all tables that have the "Export?" check boxes checked and close the Export Files window.
Click Cancel to dismiss the Export Files window.